Next主题美化
最近使用hexo的next主题在github上搭建了一个博客,但是发现这个next主题并不完全是自己想要的,所以还需要美(zhe)化(ten)一下。主要折腾了三个方面:
- 鼠标点击特效
- 个性化回到顶部
- 打字特效
- 上传文件中带有READ.md
鼠标点击特效
添加鼠标点击礼花特效🎉,效果如下
在themes\next\source\js\cursor\目录下 创建fireworks.js,具体fireworks.js的内容可以点击👉fireworks.js进行查看(不展示因为实在是太长了)
然后在主题自定义布局文件themes\next\layout\_custom\custom.swig中添加以下代码:
1 | {# 鼠标点击特效 #} |
如果 custom.swig 文件不存在,需要手动在themes\next\layout\_custom下创建并在themes\next\layout\_layout.swig布局页面中 body 末尾引入:
1 | ... |
记住是在layout文件夹下创建对应的custom.swig 文件,别创建错了。
最后在主题配置文件themes\next\_config.yml中添加以下代码:
1 | # mouse click effect: fireworks | explosion | love | text |
当然点击特效还有其他的,可以参考:http://yearito.cn/posts/hexo-theme-beautify.html
个性化回到顶部
个性化回到顶端是我自己比较喜欢的,也是从上面那个参考那里借鉴的(读书人的事,怎么能咳咳,扯远了),是一个小猫然后点击可以回到顶端,效果如下:
首先,下载该图片,点击👉小猫图片
然后在themes\next\source\css\_common\components\back-to-top.styl里面添加(不是覆盖)
1 | //自定义回到顶部样式 |
在主题配置文件themes\next\_config.yml中打开back2top
1 | back2top: |
打字特效
如果你开评论的话,可以考虑加入这个特效,感觉还挺炫酷。
首先,点击activate-power-mode.min.js下载相应的脚本,并置于 themes\next\source\js\ 目录下。
在主题自定义布局文件themes\next\layout\_custom\custom.swig中添加以下代码:
1 | {# 打字特效 #} |
如果 custom.swig 文件不存在,需要手动新建并在布局页面中 body 末尾引入,这个上面说过了,就不多说了。
在主题配置文件themes\next\_config.yml中添加以下代码:
1 | # typing effect |
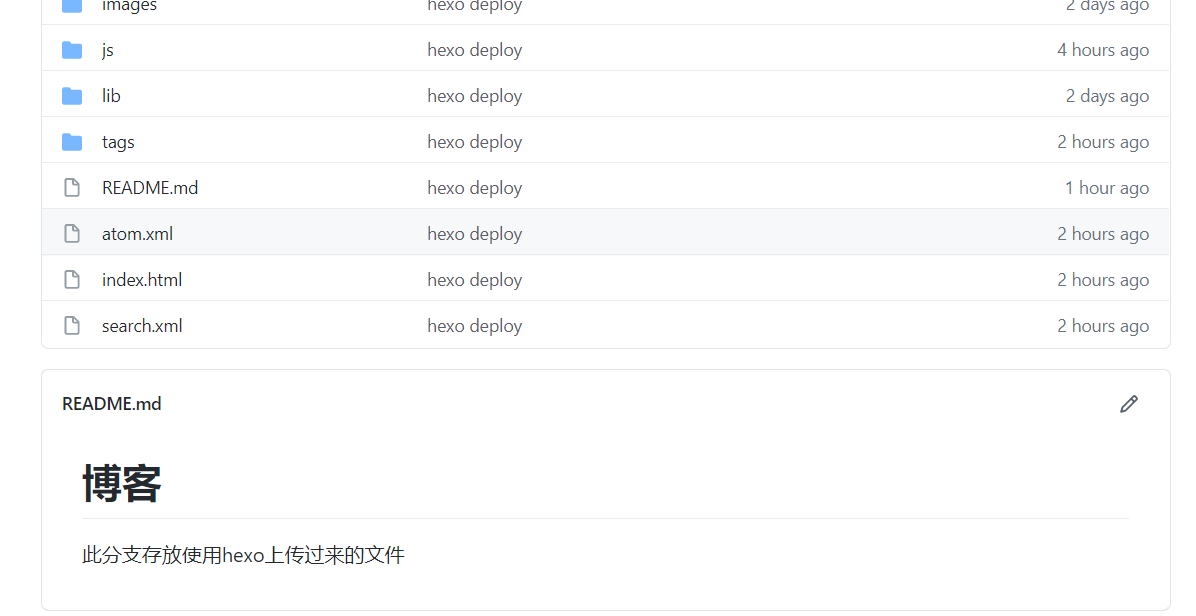
上传文件中带有README.md
我们知道hexo上传的文件当中只有css、js、html等文件,如果我们在根目录的source文件夹下添加README.md,又会变成html。这对于我这样的强迫症太难受。
解决方法是在根目录下(注意是根目录下,不是主题next目录下)的_config.yml的skip_render前面加上README.md,如下:
1 | skip_render: README.md |
然后再使用
1 | hexo g |
最终可以看到
结束语
next主题的优化就告辞段落,目前我的需求基本满足了,如果有大佬想了解更多更深度的,可以参考:http://yearito.cn/posts/hexo-theme-beautify.html
不过他的这个有点中有一个问题,就是custom.styl不存在了,这个可以参考这个issue:
https://github.com/theme-next/hexo-theme-next/issues/982
目前感觉自己折腾了一年的博客,从hexo到直接存在github上再到jekyll,最后又回到hexo,真实生命不息折腾不止,博客选择就到此结束吧。
参考: