Android权限学习
Android权限可以分为两大类:安装时权限、运行时权限和特殊权限,安装时权限包括普通权限和签名权限。
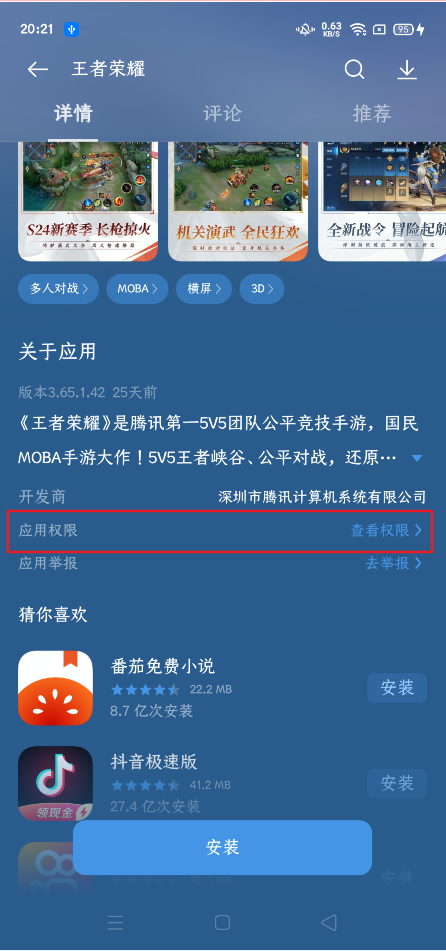
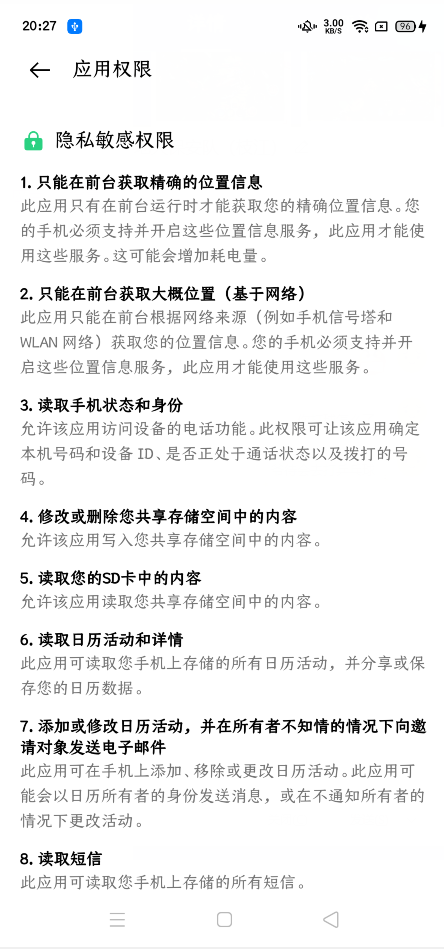
一般在应用商城上架的软件都可以看到对应的需要的权限,下面就是Android的王者荣誉当中展示的需要的权限
本文主要针对于Android6.0之后的介绍!!!
权限介绍
普通权限
在官方文档当中,普通权限此类权限允许访问超出应用沙盒的数据和执行超出应用沙盒的操作。但是,这些数据和操作对用户隐私及对其他应用的操作带来的风险非常小。系统会为普通权限分配“normal”保护级别
这类权限不太需要重点关注,申请这类权限只需要在AndroidManifest中声明即可
签名权限
官方的介绍是当应用声明了其他应用已定义的签名权限时,如果两个应用使用同一证书进行签名,系统会在安装时向前者授予该权限。否则,系统无法向前者授予该权限。
系统会为签名权限分配“signature”保护级别
目前我并没有查找到和签名权限相关的较多资料暂且跳过。
运行时权限
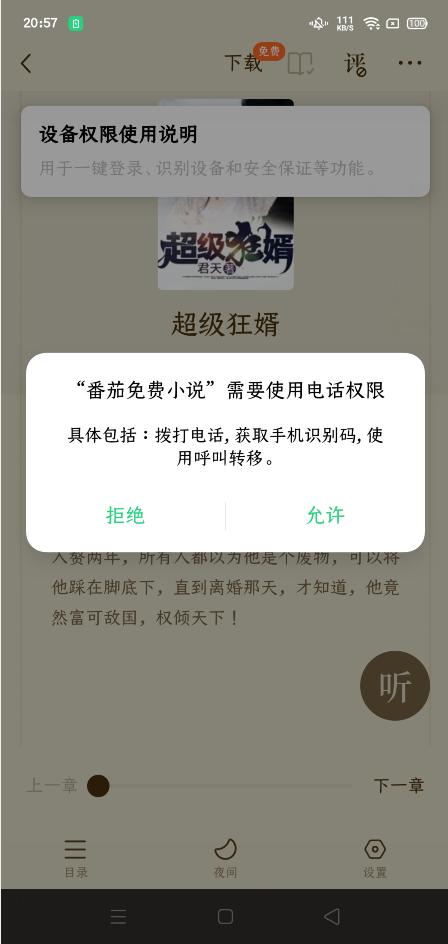
运行时权限又成为危险权限,他是学习的重点,该权限在系统请求的时候,系统会显示运行时权限提示。
比如我在市面上找到的一款小说软件,他就申请的电话权限。
后面我们也会实现这样的功能
系统会为运行时权限分配“dangerous”保护级别
特殊权限
特殊权限与特定的应用操作相对应。只有平台和原始设备制造商 (OEM) 可以定义特殊权限。此外,如果平台和 OEM 想要防止有人执行功能特别强大的操作(例如通过其他应用绘图),通常会定义特殊权限。
系统设置中的特殊应用访问权限页面包含一组用户可切换的操作。其中的许多操作都以特殊权限的形式实现。
每项特殊权限都有自己的实现细节。
系统会为特殊权限分配“appop”保护级别。
特殊权限不在本次学习的重点之内,基本可以忽略
声明应用权限
声明权限比较简单只需要在AndroidManifest中加入对应的权限就行
如申明网络权限:
1 | <uses-permission android:name="android.permission.INTERNET" /> |
申明了权限之后如果该权限是安装时权限,系统会在安装您的应用时自动为其授予相应权限。
如果该权限时运行时权限,那么光声明权限还是不够的,还需要继续请求权限。
当然如果是运行时权限,直接不写声明,那么请求权限是发不出去的,一发出去就会被拒绝。
请求权限
检测权限
请求的权限一般是危险权限也就是运行时权限,在请求权限之前我们可以检测一下权限,查看权限是否授予
检查权限使用的函数是
1 | public static int checkSelfPermission (Context context, String permission) |
此方法会返回 PERMISSION_GRANTED 或 PERMISSION_DENIED。然后我们就可以知道是否获得了该权限
如:
1 |
|
请求对应权限
请求对应的权限的代码目前看来有两种方式,第一种方式是使用ActivityResultLauncher,第二种是使用函数requestPermissions
使用ActivityResultLauncher
使用ActivityResultLauncher需要先指定ActivityResultContract类型的协议不过在Android当中已经有实现好的类,那就是RequestPermission类
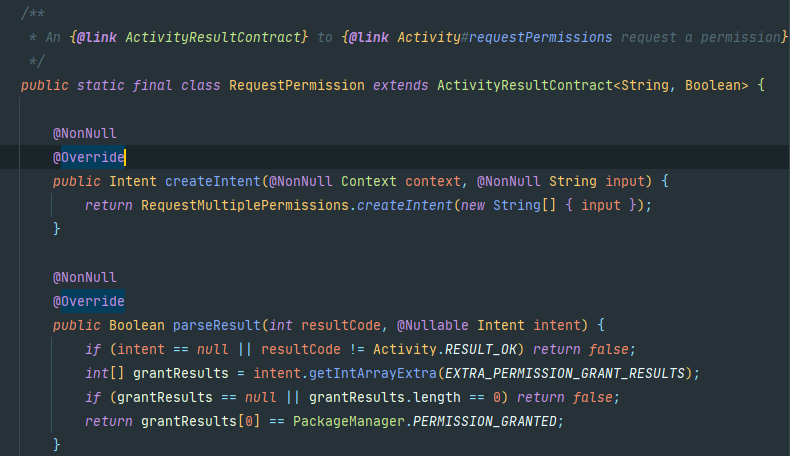
可以看到RequestPermission类是ActivityResultContract<String,Boolean>类型的,其中String代表权限的名字,而Boolean代表最后返回是否授予权限的结果,所以使用起来比较简单,类似有Activity的跳转
1 | //注册权限回调,它处理用户对系统权限对话框的响应。 |
我们请求摄像头权限
1 | //第一种方式使用 ActivityResultLauncher |
调用结果
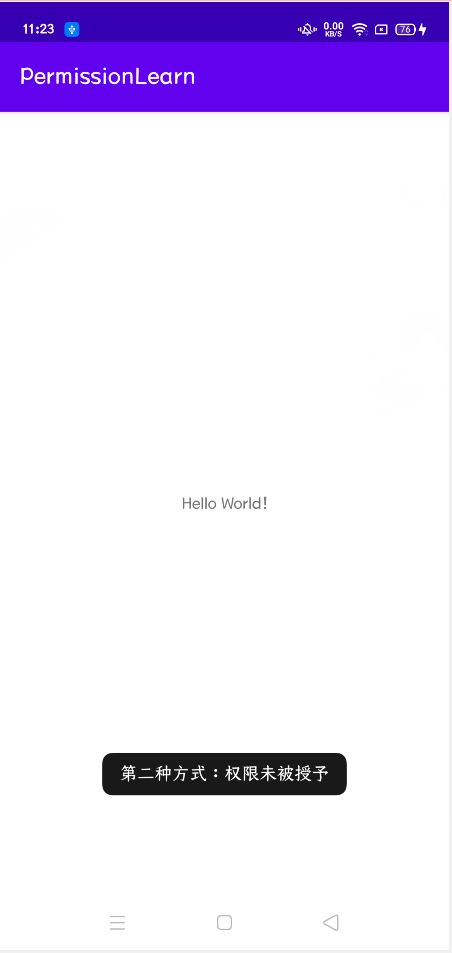
使用requestPermissions
requestPermissions也可请求权限,并且可以请求多个权限
1 | public final void requestPermissions( String[] permissions, int requestCode) |
使用requestPermissions请求权限之后,需要使用onRequestPermissionsResult函数作为回调函数
eg:
1 | //第二种方式 |
回调后方法
1 |
|
使用起来比较简单也比较方便
shouldShowRequestPermissionRationale函数理解
shouldShowRequestPermissionRationale向用户显示指导界面,在此界面中说明用户希望启用的功能为何需要特定权限。
shouldShowRequestPermissionRationale函数会返回true或者false。按照请求权限的流程可以这样区分
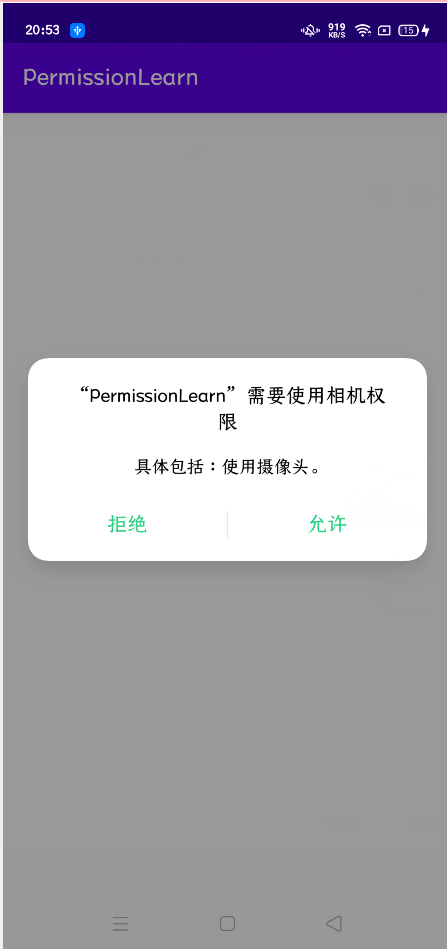
①刚刚安装程序打开程序,shouldShowRequestPermissionRationale返回false,这个时候会弹出权限请求框,如果我们允许那么shouldShowRequestPermissionRationale会一直返回false
②如果①里面拒绝了权限,再次进行程序shouldShowRequestPermissionRationale会返回true,这时候我们应该展示为啥需要权限
③如果我们一直请求权限,然后用户不耐烦了,点击了不再询问,那么shouldShowRequestPermissionRationale会一直返回false
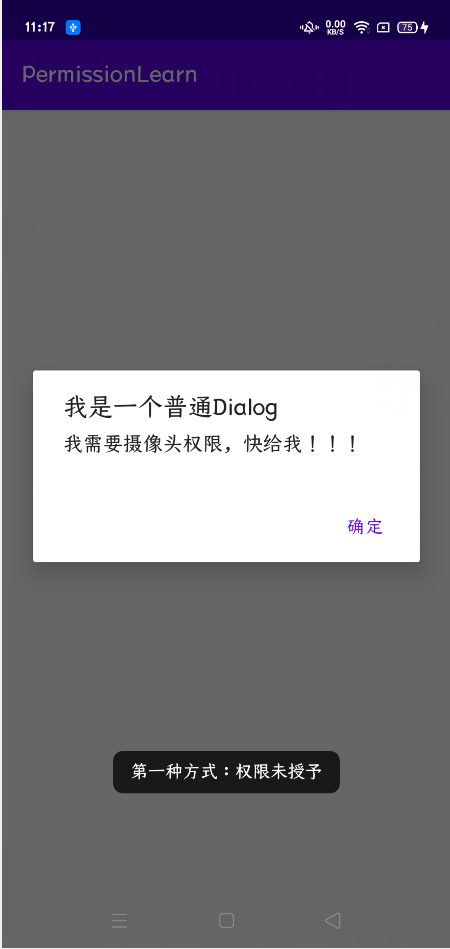
举个例子,我们在第二个分支使用shouldShowRequestPermissionRationale,它会弹出一个对话框,说明权限的重要性
1 |
|
我们一开始安装程序进入程序,shouldShowRequestPermissionRationale返回false,所以进入第三个分支,并且请求授予权限
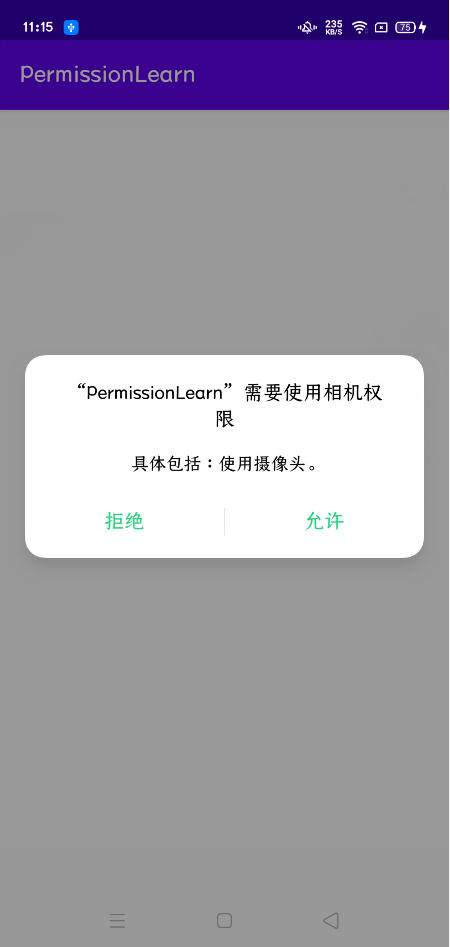
我们点击拒绝后,关闭程序(后台杀死),再次进入程序
点击拒绝后可以看到下图的内容,说明这个时候进入第二个分支,shouldShowRequestPermissionRationale返回true
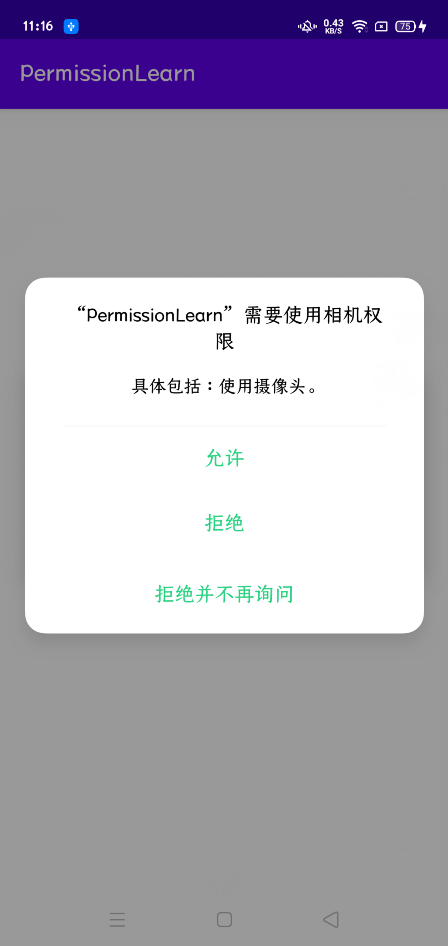
关闭程序(后台杀死),再次进入程序,这次我们点击拒绝并且不在询问,然后再关闭程序(后台杀死),再进入
这次直接跳转第三个分支,并且直接拒绝权限授予,说明shouldShowRequestPermissionRationale返回false
请求权限建议流程:
官方建议流程就是上面那种类似于三个分支的流程
1 | if (ContextCompat.checkSelfPermission( |
三个分支,一个是获得了权限,一个是没有完全拒绝,可以说明权限的重要性,一个是请求权限。比较简单,可以看看上面的例子
总结
请求权限总算是弄懂了不少,但是具体那个权限需要查那个目前还不清楚,等后续总结后再来讲讲。